Selenium is a powerful tool for web application testing. It automates browsers and mimics fundamental user interactions. Developers use Selenium with Java to ensure their web applications work correctly. This article will guide you through the process, step by step.
Why Use Selenium?
Selenium supports multiple browsers like Chrome, Firefox, and Edge. It works on different operating systems. You can write your tests in various programming languages. Java is one of the most popular choices. It offers strong libraries and a wide developer community.
Setting Up Your Environment
Before testing, you must set up your environment. Follow these steps to prepare:
1. Install Java Development Kit (JDK)
Download and install JDK from the official Oracle website. Set your environment variables correctly.
2. Set Up an IDE
IntelliJ offers great support for Maven and Selenium.
3. Add Selenium to Your Project
Create a Maven project. Add the following dependency to your pom.xml file:
<!-- https://mvnrepository.com/artifact/org.seleniumhq.selenium/selenium-java -->
<dependency>
    <groupId>org.seleniumhq.selenium</groupId>
    <artifactId>selenium-java</artifactId>
    <version>4.31.0</version>
</dependency>
Save the file. Maven will download all necessary Selenium libraries.
4. Install WebDriver for Your Browser
If you are using Chrome, download ChromeDriver. Match it with your browser version. Place it in your system path. Download from the link below.
Writing Your First Test
Now let’s write a basic test. The goal is to open a website and check its title.
Create a New Java Class
Create a class named SampleTest.java.
import org.openqa.selenium.WebDriver;
import org.openqa.selenium.chrome.ChromeDriver;

public class SampleTest {
    public static void main(String[] args) {
        // Set path to ChromeDriver
        System.setProperty("webdriver.chrome.driver", "D:\\workspaces\\selenium-client\\chromedriver-win64\\chromedriver.exe");

        // Create WebDriver instance
        WebDriver driver = new ChromeDriver();

        // Open a webpage
        driver.get("https://www.facebook.com/");

        // Print the title
        System.out.println("Page title is: " + driver.getTitle());

        // Close the browser
        driver.quit();
    }
}
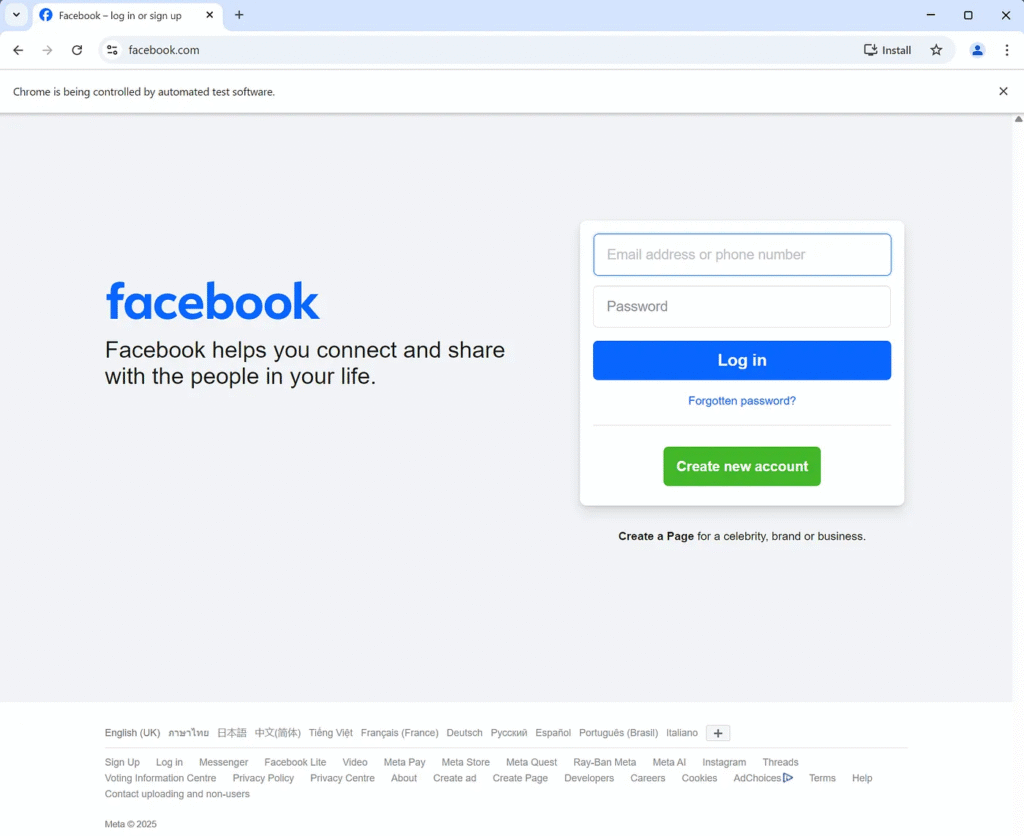
This code launches a Chrome browser, opens a URL, prints the page title, and closes the browser.

Writing Advanced Test Cases
To test a login form, use the following example:
import org.openqa.selenium.By;
import org.openqa.selenium.WebDriver;
import org.openqa.selenium.WebElement;
import org.openqa.selenium.chrome.ChromeDriver;

public class LoginTest {
    public static void main(String[] args) {
        System.setProperty("webdriver.chrome.driver", "D:\\workspaces\\selenium-client\\chromedriver-win64\\chromedriver.exe");
        WebDriver driver = new ChromeDriver();

        driver.get("https://www.facebook.com/");

        WebElement username = driver.findElement(By.id("email"));
        WebElement password = driver.findElement(By.id("pass"));
        WebElement loginButton = driver.findElement(By.name("login"));

        username.sendKeys("testuser");
        password.sendKeys("securepass");
        loginButton.click();

        String currentUrl = driver.getCurrentUrl();
        System.out.println("Current URL after login: " + currentUrl);

        driver.quit();
    }
}
This script finds login elements by ID, enters values, clicks the login button, and prints the URL.
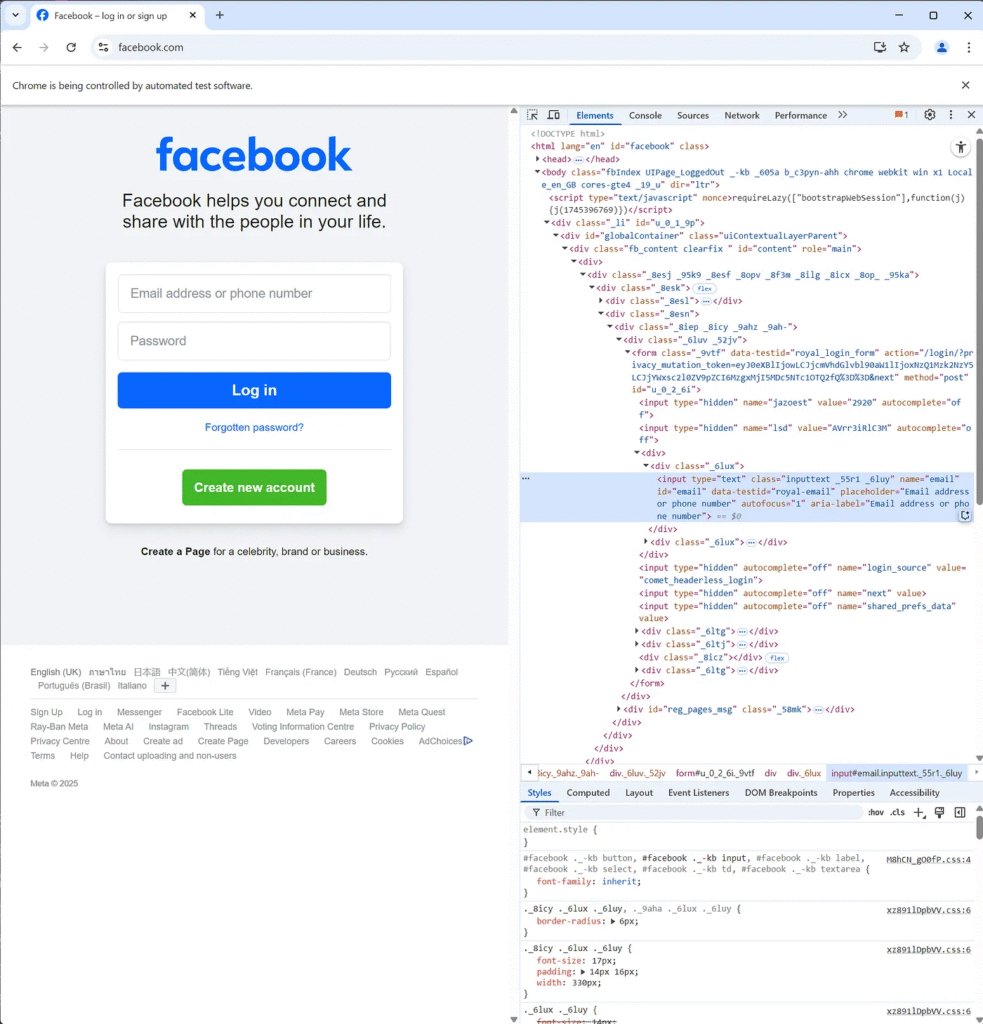
Use Developer tools to find the element ID or name.


Synchronization and Waits
Web applications are dynamic. Sometimes elements take time to load. Use implicit waits or explicit waits to handle delays.
Implicit Wait:
driver.manage().timeouts().implicitlyWait(Duration.ofSeconds(10));
Explicit Wait:
WebDriverWait wait = new WebDriverWait(driver, Duration.ofSeconds(10));
WebElement element = wait.until(ExpectedConditions.visibilityOfElementLocated(By.id("dashboard")));
Waiting makes your tests more stable and reliable.
WebDriverManager
Set up WebDriverManager in Java (Maven)
1. Add the dependency to your pom.xml:
<!-- https://mvnrepository.com/artifact/io.github.bonigarcia/webdrivermanager -->
<dependency>
    <groupId>io.github.bonigarcia</groupId>
    <artifactId>webdrivermanager</artifactId>
    <version>6.1.0</version>
</dependency>
2. Use it in your Selenium test code:
import io.github.bonigarcia.wdm.WebDriverManager;
import org.openqa.selenium.WebDriver;
import org.openqa.selenium.chrome.ChromeDriver;

public class WebDriverManagerTest {
    public static void main(String[] args) {
        // Automatically downloads and sets up chromedriver
        WebDriverManager.chromedriver().setup();

        WebDriver driver = new ChromeDriver();
        driver.get("https://www.google.com");

        // Perform actions...

        driver.quit();
    }
}
Why use WebDriverManager?
- No need to manually download drivers.
- Automatically matches the driver version with the installed browser version.
- Supports Chrome, Firefox, Edge, Opera, Safari, and more.
Organizing Tests Using TestNG
TestNG helps you manage test cases. It allows you to run groups of tests together.
1. Add TestNG to pom.xml:
<!-- https://mvnrepository.com/artifact/org.testng/testng -->
<dependency>
    <groupId>org.testng</groupId>
    <artifactId>testng</artifactId>
    <version>7.11.0</version>
    <scope>test</scope>
</dependency>
Example Test with TestNG:
import io.github.bonigarcia.wdm.WebDriverManager;
import org.openqa.selenium.WebDriver;
import org.openqa.selenium.chrome.ChromeDriver;
import org.testng.annotations.AfterMethod;
import org.testng.annotations.BeforeMethod;
import org.testng.annotations.Test;

public class TestNGExample {
    WebDriver driver;

    @BeforeMethod
    public void setup() {
        // Automatically downloads and sets up chromedriver
        WebDriverManager.chromedriver().setup();
        driver = new ChromeDriver();
    }

    @Test
    public void testHomepageTitle() {
        driver.get("https://facebook.com");
        assert driver.getTitle().contains("Facebook");
    }

    @AfterMethod
    public void teardown() {
        driver.quit();
    }
}
TestNG makes it easy to structure and scale your testing project.
Tips for Effective Selenium Tests
- Use Page Object Model (POM) to separate locators from tests.
- Use assertions to validate expected results.
- Avoid hard-coded waits; use smart waits instead.
- Always close the browser after tests.
- Take screenshots on failure for debugging.
Debugging and Logs
When a test fails, logs and screenshots help you find the issue. Use the following to take a screenshot:
public class TestNGExample {
    WebDriver driver;

    @BeforeMethod
    public void setup() {
        // Automatically downloads and sets up chromedriver
        WebDriverManager.chromedriver().setup();
        driver = new ChromeDriver();
    }

    @Test
    public void testHomepageTitle() throws IOException {
        driver.get("https://facebook.com");

        File srcFile = ((TakesScreenshot) driver).getScreenshotAs(OutputType.FILE);
        FileUtils.copyFile(srcFile, new File("D:\\workspaces\\selenium-client\\screenshot.png"));

        assert Objects.requireNonNull(driver.getTitle()).contains("Facebook");


    }

    @AfterMethod
    public void teardown() {
        driver.quit();
    }
}
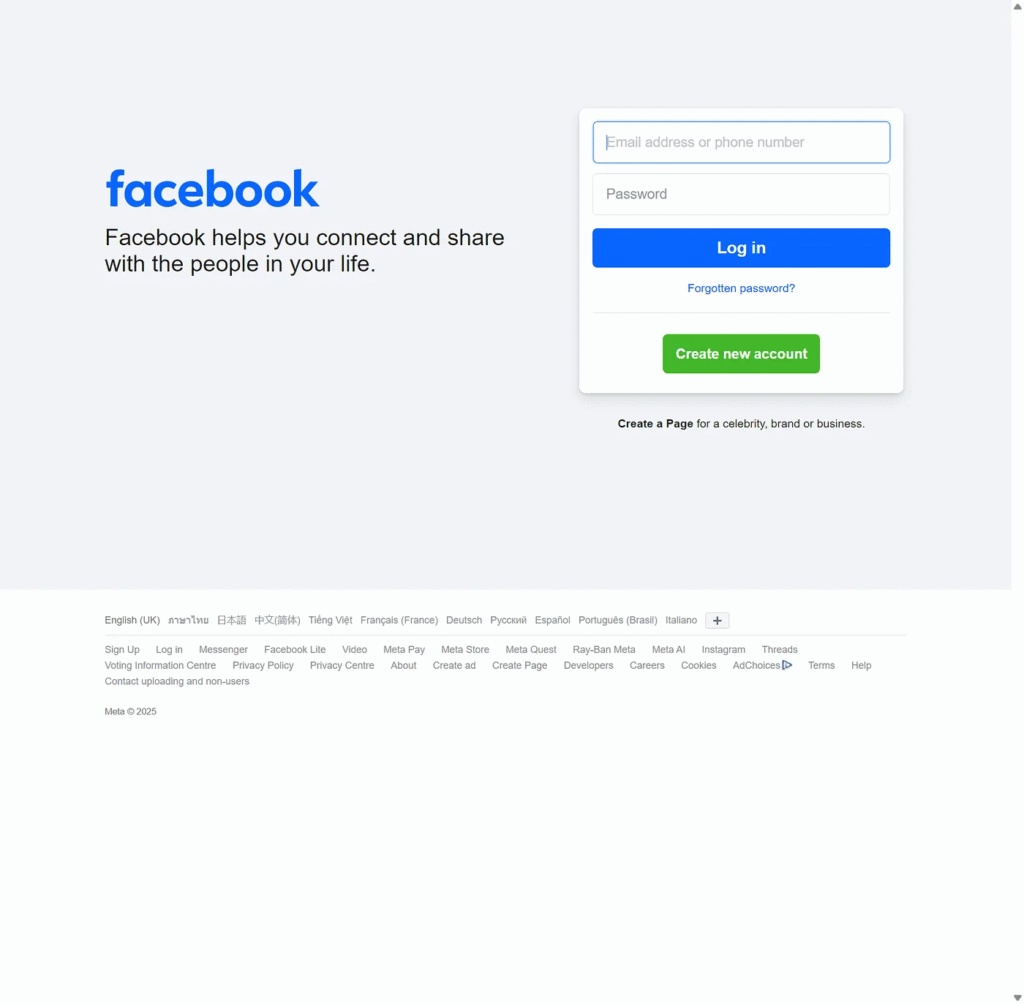
This saves a screenshot in your project directory.

How to Generate a TestNG Report
Selenium TestNG Project Structure
webapp-automation/
│
├── pom.xml                        # Maven configuration file
├── testng.xml                     # TestNG test suite configuration
│
├── src/
│   ├── main/
│   │   └── java/
│   │       └── utils/            # Optional: Reusable utility classes
│   │           └── WebDriverManager.java
│
│   └── test/
│       ├── java/
│       │   ├── base/             # Base test classes (e.g., setup/teardown)
│       │   │   └── BaseTest.java
│       │   ├── pages/            # Page Object Model classes
│       │   │   └── LoginPage.java
│       │   ├── tests/            # Actual test cases
│       │   │   └── LoginTest.java
│       │   └── utils/            # Optional: Test-specific utils (e.g., data providers)
│       │       └── TestUtils.java
│       │
│       └── resources/            # Test data files, properties, config
│           └── config.properties
│
└── test-output/                  # TestNG generates HTML/XML reports here
    └── index.html
1. Basic TestNG Setup
Make sure your project uses TestNG. If not already done, include TestNG in your pom.xml:
<dependency>
  <groupId>org.testng</groupId>
  <artifactId>testng</artifactId>
  <version>7.7.0</version>
  <scope>test</scope>
</dependency>
2. Create a TestNG XML Suite File
Create a testng.xml file to define test execution flow:
<!DOCTYPE suite SYSTEM "https://testng.org/testng-1.0.dtd">
<suite name="WebAppTestSuite">
    <test name="LoginTests">
        <classes>
            <class name="com.example.selenium_client.test.TestNGExample"/>
        </classes>
    </test>
</suite>
3. Run the Test Suite
You can run this via:
- Command Line:
mvn test -DsuiteXmlFile=testng.xml
- IDE (IntelliJ or Eclipse):
- Right-click on
testng.xml - Click Run ‘testng.xml’
4. View the Reports
After the run, TestNG generates the report under:
<your-project-folder>/test-output/
Reason for Missing test-output directory when running TestNG tests. However, the reporting behavior is slightly different when you execute TestNG tests through Maven using the Surefire plugin (the default testing plugin for Maven).
Where to Find TestNG Reports with Maven:
Directory: After running mvn test -DsuiteXmlFile=testng.xmlIn XML format, the TestNG results will typically be found in the target/surefire-reports directory.
Look for:
index.html→ 📊 A user-friendly summary reportemailable-report.html→ 📩 An email-ready summary reporttestng-results.xml→ 🛠️ A raw XML file with all test data
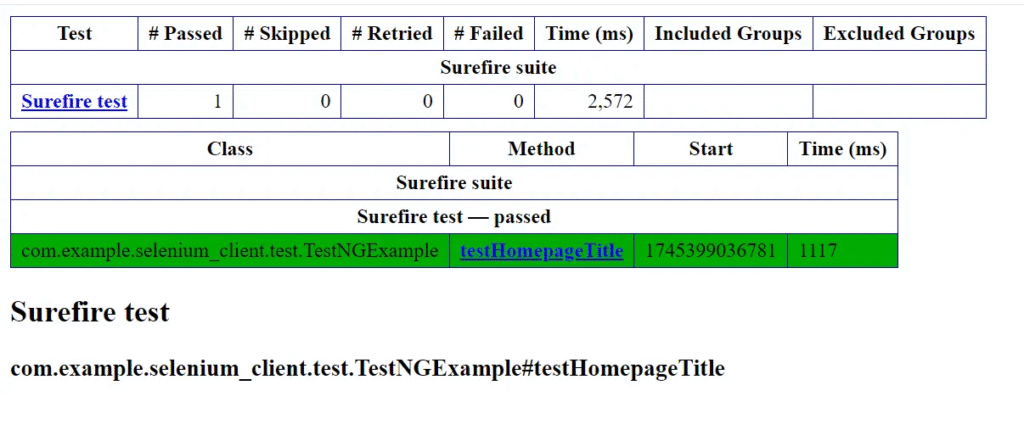
Open index.html in a browser to view the full report.
Example Report Output


Customizing Reports (Optional)
You can plug in a custom reporting framework like ExtentReports for a more visual, interactive report:
Add ExtentReports Dependency:
<!-- https://mvnrepository.com/artifact/com.aventstack/extentreports -->
<dependency>
  <groupId>com.aventstack</groupId>
  <artifactId>extentreports</artifactId>
  <version>5.1.2</version>
</dependency>
Integrate ExtentReports in Your Test:
package com.example.selenium_client.test;

import com.aventstack.extentreports.ExtentReports;
import com.aventstack.extentreports.ExtentTest;
import com.aventstack.extentreports.reporter.ExtentSparkReporter;
import com.aventstack.extentreports.reporter.configuration.Theme;
import org.testng.annotations.AfterSuite;
import org.testng.annotations.BeforeSuite;

public class BaseTest {
    public static ExtentReports extent;
    public static ExtentTest test;

    @BeforeSuite
    public void setUpReport() {
        ExtentSparkReporter htmlReporter = new ExtentSparkReporter("D:\\workspaces\\selenium-client\\test-output\\ExtentReport.html");
        htmlReporter.config().setDocumentTitle("Automation Report");
        htmlReporter.config().setReportName("Functional Testing");
        htmlReporter.config().setTheme(Theme.STANDARD);

        extent = new ExtentReports();
        extent.attachReporter(htmlReporter);
        extent.setSystemInfo("Tester", "Your Name");
    }

    @AfterSuite
    public void tearDownReport() {
        extent.flush();
    }
}
package com.example.selenium_client.test;
import org.openqa.selenium.WebDriver;
import org.openqa.selenium.chrome.ChromeDriver;
import org.testng.Assert;
import org.testng.annotations.AfterMethod;
import org.testng.annotations.BeforeMethod;
import org.testng.annotations.Test;
public class GoogleTest extends BaseTest {
WebDriver driver;
@BeforeMethod
public void setup() {
driver = new ChromeDriver();
}
@Test
public void googleHomePageTitleTest() {
test = extent.createTest("Google Home Page Title Test");
driver.get("https://www.google.com");
String title = driver.getTitle();
test.info("Page title is: " + title);
Assert.assertEquals(title, "Google");
test.pass("Title matched!");
}
@AfterMethod
public void tearDown() {
driver.quit();
}
}Run the Test Suite
mvn test -DsuiteXmlFile=testng.xml
Example ExtentReports Output

Conclusion
Selenium with Java is a robust solution for web testing. It helps you catch bugs early. You can automate repetitive tasks and run tests across browsers. Using TestNG, you can organize and scale your test suite. Start small, then build complex test scenarios. Selenium will grow with your application.


