Next.js is known for performance and developer experience. With its robust routing and rendering, it makes app development smooth. However, updating data efficiently is key to building dynamic web apps. Thankfully, Next.js now supports Server Functions, which simplify data mutations on the server. This tutorial walks you through creating and invoking them.
What Are Server Functions?
Server Functions enable you to run code directly on the server from your components. You use them to handle actions like creating, updating, or deleting data. These functions don’t expose sensitive logic to the client, making them secure by default.
Creating Server Functions
To create a Server Function in Next.js, define it inside a Server Component. This means the function only runs on the server. You typically define it as an async function and export it from your component file or a utility module.
For example:
// app/actions/updateUser.ts
'use server'

export async function updateUser(data: FormData) {
  const id = data.get('id')
  const name = data.get('name')

  // Update logic here
}
This function updates a user based on the data submitted in the form. Notice the "use server" directive. This tells Next.js to treat it as a Server Function.
Server Components
Server Components allow you to run code without sending it to the browser. This makes them ideal for tasks like fetching data or calling APIs securely. Server Functions live here because they should not run on the client side.
Use Server Components when your component doesn’t need to handle interactivity. For instance, a dashboard that fetches user data can remain server-only.
// app/dashboard/page.tsx
import { getUsers } from '../actions/userActions'

export default async function Dashboard() {
  const users = await getUsers()
  return <UserList users={users} />
}
Client Components
On the other hand, Client Components handle interactivity. Use them when you need event listeners or state. But here’s the trick: You can still invoke Server Functions from Client Components.
To do this, pass the Server Function as a prop to your Client Component.
'use client'

export default function UserForm({ updateUser }) {
  return (
    <form action={updateUser}>
      <input name="id" type="hidden" value="123" />
      <input name="name" type="text" />
      <button type="submit">Update</button>
    </form>
  )
}
Here, UserForm is interactive. It receives updateUser as a prop and uses it in a form.
Passing Actions as Props
Passing Server Functions to Client Components requires careful handling. First, import the function in a Server Component. Then, render the Client Component with the function passed in.
import UserForm from './UserForm'
import { updateUser } from '../actions/updateUser'

export default function Page() {
  return <UserForm updateUser={updateUser} />
}
This keeps your update logic secure on the server while making it usable in the browser.
Invoking Server Functions
You can invoke Server Functions in two main ways: using forms and event handlers. Each method serves a specific purpose.
Using Forms
Forms are the easiest way to invoke Server Functions. When you set the action attribute of a form to a Server Function, it runs automatically upon submission.
Next.js automatically serializes the form data and sends it to the server. The function processes it, and you can redirect or revalidate as needed.
<form action={updateUser}>
  <input type="text" name="name" />
  <button type="submit">Save</button>
</form>
Forms are well-designed and accessible, and they are compatible with all major browsers. If you’re building a basic CRUD app, use forms for simplicity.
Using Event Handlers
Sometimes, you need more control. You may want to call a Server Function after a modal closes or a button click. In these cases, use event handlers inside Client Components.
'use client'

import { updateUser } from '../actions/updateUser'

export default function UserUpdater() {
  async function handleClick() {
    const data = new FormData()
    data.append('id', '123')
    data.append('name', 'Alice')

    await updateUser(data)
  }

  return <button onClick={handleClick}>Update User</button>
}
Tips for Using Server Functions
- Keep logic server-only: Avoid exposing sensitive logic in Client Components.
- Use async/await: Always await Server Functions to ensure proper execution.
- Combine with React hooks: Use
useTransitionoruseOptimisticfor better UX. - Test thoroughly: Since these run on the server, errors may not appear in the browser console.
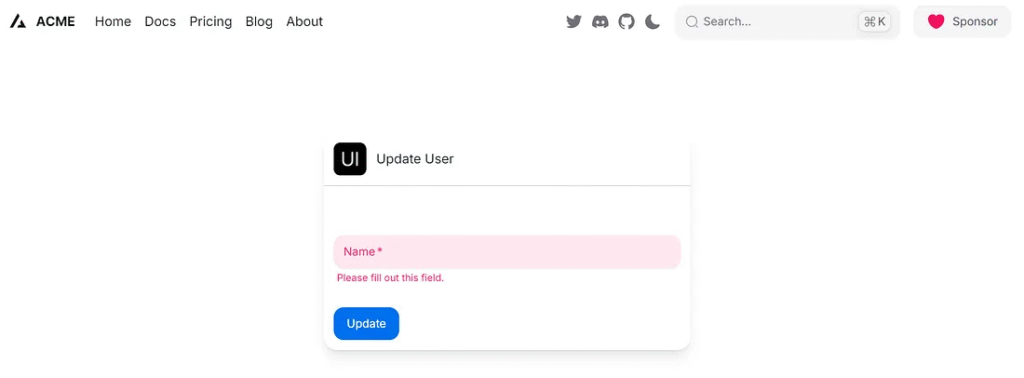
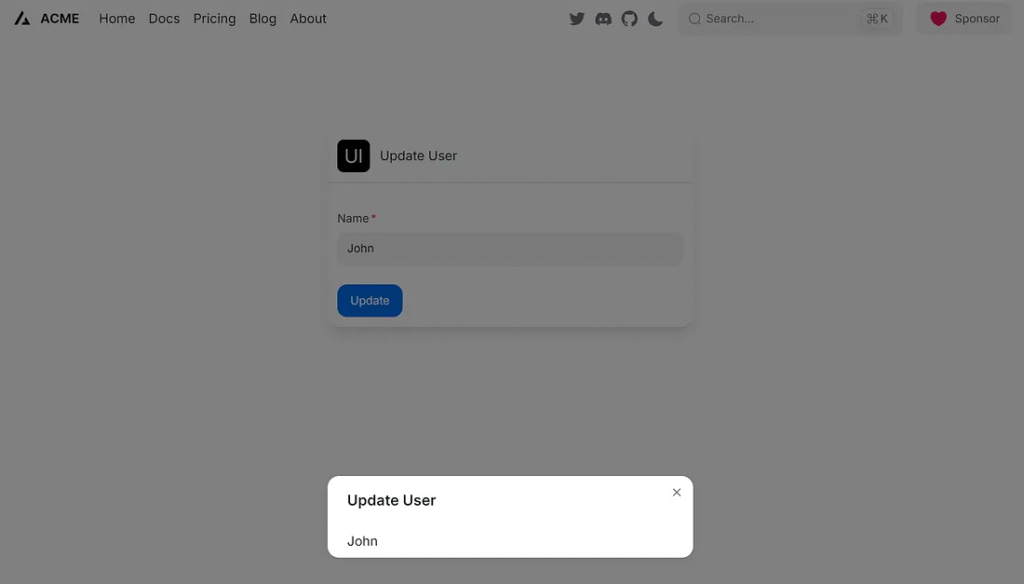
Example
This demonstrates updating data in Next.js using Server Functions.
Set Up Your Next.js Project

File Structure
/app
  /update-user
    page.tsx           // Server Component
    UserForm.tsx       // Client Component
/actions
  updateUser.ts        // Server Function
Install Hero UI React
>npm install @heroui/react
app/update-user/page.tsx
import { updateUser } from "../../actions/updateUser";

import UserForm from "./UserForm";

export default function UpdateUserPage() {
  return (
    <main>
      <UserForm updateUser={updateUser} />
    </main>
  );
}
app/update-user/UserForm.tsx
"use client";

import { Card, CardBody, CardHeader, Divider } from "@heroui/react";
import { Input } from "@heroui/react";
import { Button } from "@heroui/react";
import {
  Modal,
  ModalContent,
  ModalHeader,
  ModalBody,
  useDisclosure,
  Image,
} from "@heroui/react";
import { startTransition, useState } from "react";

type Props = {
  updateUser: (formData: FormData) => Promise<void>;
};

export default function UserForm({ updateUser }: Props) {
  const { isOpen, onOpen, onOpenChange } = useDisclosure();
  const [name, setName] = useState("");

  function handleSubmit(event: React.FormEvent<HTMLFormElement>) {
    event.preventDefault();
    const formData = new FormData(event.currentTarget);
    const name = formData.get("name") as string;

    startTransition(() => {
      updateUser(formData).then(() => {
        setName(name);
        onOpen(); // Show modal after update
      });
    });
  }

  return (
    <>
      <Card className="max-w-md mx-auto mt-10 shadow-lg rounded-2xl">
        <CardHeader className="flex gap-3">
          <Image
            alt="heroui logo"
            height={40}
            radius="sm"
            src="https://avatars.githubusercontent.com/u/86160567?s=200&v=4"
            width={40}
          />
          <div className="flex flex-col">
            <p className="text-md">Update User</p>
          </div>
        </CardHeader>
        <Divider />
        <CardBody>
          <form className="space-y-6" onSubmit={handleSubmit}>
            <input name="id" type="hidden" value="123" />
            <div className="grid gap-2">
              <Input
                isRequired
                id="name"
                label="Name"
                labelPlacement="outside"
                name="name"
                type="text"
              />
            </div>
            <Button color="primary" type="submit">
              Update
            </Button>
          </form>
        </CardBody>
      </Card>
      <Modal isOpen={isOpen} placement="top-center" onOpenChange={onOpenChange}>
        <ModalContent>
          {() => (
            <>
              <ModalHeader className="flex flex-col gap-1">
                Update User
              </ModalHeader>
              <ModalBody>
                <p>{name}</p>
              </ModalBody>
            </>
          )}
        </ModalContent>
      </Modal>
    </>
  );
}
actions/updateUser.ts
"use server";

export async function updateUser(formData: FormData) {
  const id = formData.get("id");
  const name = formData.get("name");
  console.log(`Updating user ${id} to name ${name}`)
}
Run the App
Start the development server:
npm run dev
http://localhost:3000/update-user

Finally
Updating data in Next.js has become easier with Server Functions. They keep your logic secure, reduce boilerplate, and improve performance. By combining Server and Client Components wisely, you create seamless experiences.
Whether you use forms for simplicity or event handlers for control, Server Functions give you a powerful tool for full-stack React development. Start using them today to make your Next.js app dynamic and secure.
This article was originally published on Medium.