Modern web applications must be fast and reliable. Users expect content to load instantly and stay up to date. That’s where caching and revalidation come in. Next.js offers powerful APIs to help you manage both efficiently.
Let’s dive into how to use fetch, unstable_cache, revalidateTag, and revalidatePath in your Next.js app.
Why Caching Matters
Caching stores data so you can reuse it later. Instead of refetching the same data, your app uses a saved copy. This makes your site faster and reduces server load. However, caching can become a problem if data changes often.
To solve this, Next.js provides tools to revalidate cached content. Revalidation ensures users see updated data without sacrificing speed.
The fetch Function
Next.js extends the standard fetch API. When using it in server components, you can set a next option. This enables caching and revalidation automatically.
export async function getData() {
  const res = await fetch('https://api.example.com/data', {
    next: { revalidate: 60 },
  });
  return res.json();
}
Here’s what happens:
- Next.js caches the data for 60 seconds.
- After that, it fetches fresh data again.
- Meanwhile, users continue seeing the cached version.
This approach strikes a balance between performance and data accuracy.
Using unstable_cache for Custom Logic
Sometimes, you need more control over how caching works. That’s where unstable_cache comes in. This API allows you to cache the result of any asynchronous function.
Let’s look at a simple example:
import { unstable_cache } from 'next/cache';

const getCachedData = unstable_cache(
  async () => {
    const res = await fetch('https://api.example.com/stats');
    return res.json();
  },
  ['stats-cache-key'], // unique cache key
  { revalidate: 120 }   // cache for 2 minutes
);
Use this when:
- You want to cache data that doesn’t come directly from
fetch. - You need to reuse the data across different components or pages.
- You want to control cache keys manually.
Note: This API is marked as unstable because it’s still evolving.
Revalidating with revalidateTag
Tags are a clever way to manage cache. When you cache content with a tag, you can later revalidate all content using that tag. This is particularly helpful when multiple pages or components depend on the same data.
Here’s how to use it:
Step 1: Assign a tag when fetching data
export async function getPosts() {
  const res = await fetch('https://api.example.com/posts', {
    next: {
      tags: ['posts'],
    },
  });
  return res.json();
}
Step 2: Revalidate that tag when needed
import { revalidateTag } from 'next/cache';

export async function POST() {
  await revalidateTag('posts');
  return new Response('Tag revalidated');
}
Use revalidateTag when:
- An API call updates your database.
- You want to revalidate multiple pages tied to the same data.
This method is clean and scalable.
Revalidating with revalidatePath
revalidatePath gives you control over a specific path in your app. It works well when you update a single resource and want only that route to revalidate.
Here’s how:
import { revalidatePath } from 'next/cache';

export async function POST() {
  await revalidatePath('/blog');
  return new Response('Path revalidated');
}
This method is excellent for:
- Blog posts
- Product detail pages
- Any dynamic route
It’s best when you know exactly which page changed.
Best Practices
1. Use Tags for Shared Data
Tags are perfect when multiple pages rely on the same data. Instead of revalidating each page one by one, tag your data and revalidate the tag.
2. Revalidate Paths When Scope Is Small
Use revalidatePath when the update only affects one route. It keeps your revalidation logic focused.
3. Avoid Revalidating Too Often
Excessive revalidation can lead to slower performance. Select a cache duration that aligns with your data’s freshness requirements.
4. Test in Production-Like Environments
Some features behave differently in development. Always test revalidation strategies in a staging or production environment.
Example Workflow
Let’s say you have a blog. You want to:
- Cache posts for 2 minutes
- Update the cache when a new post is published
- Avoid full rebuilds
You’d use fetch with tags, and trigger revalidateTag after new posts.
// getPosts.js
export async function getPosts() {
  return fetch('https://api.example.com/posts', {
    next: {
      tags: ['posts'],
    },
  }).then(res => res.json());
}

// route.js
import { revalidateTag } from 'next/cache';

export async function POST() {
  await revalidateTag('posts');
  return new Response('Updated posts');
}
This keeps your blog fast and fresh.
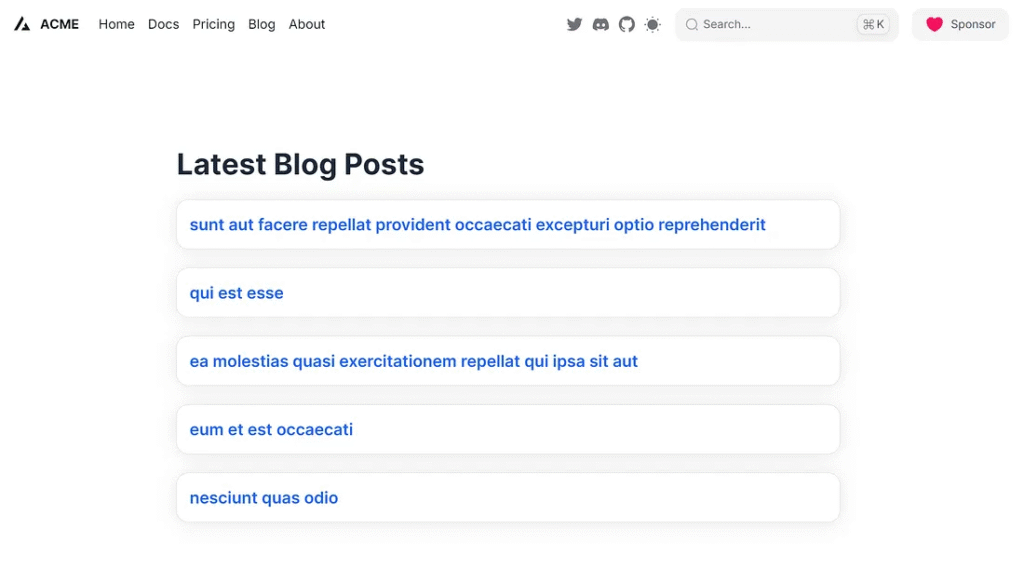
Example Website
A simple website structure for applying caching and revalidation techniques from the tutorial.
Project Structure
my-next-cache-tutorial/
├── app/
│   ├── page.tsx                 // Homepage - lists posts
│   ├── blog/
│   │   └── [slug]/
│   │       └── page.tsx         // Dynamic blog post page
│   └── api/
│       └── revalidate/
│           └── route.ts         // API route to revalidate tag
├── components/
│   ├── blog-listing.tsx
│   ├── blog-post.tsx
├── lib/
│   └── posts.ts                 // Data fetching with caching
├── next.config.js
├── package.json
lib/posts.ts
export async function getPosts() {
  return fetch('https://jsonplaceholder.typicode.com/posts', {
    next: { tags: ['posts'], revalidate: 300 },
  }).then((res) => res.json());
}

export async function getPost(id: string) {
  return fetch(`https://jsonplaceholder.typicode.com/posts/${id}`, {
    next: { tags: ['posts'], revalidate: 300 },
  }).then((res) => res.json());
}
app/page.tsx (Homepage)
import { BlogListing } from "../components/blog-listing";

export default async function Home() {
  return (
    <section className="max-w-4xl mx-auto p-6">
      <BlogListing />
    </section>
  );
}
components/blog-listing.tsx
"use client";
import React from "react";
import { Card, CardBody, Link } from "@heroui/react";

import { getPosts } from "../lib/posts";

export const BlogListing: React.FC = async () => {
  const posts = await getPosts();

  return (
    <div className="container mx-auto px-4 py-8">
      <h1 className="text-4xl font-bold text-gray-800 mb-6">
        Latest Blog Posts
      </h1>
      <ul className="grid grid-cols-1 md:grid-cols-1 lg:grid-cols-1 gap-6">
        {posts.slice(0, 5).map((post: any) => (
          <li key={post.id}>
            <Card className="hover:shadow-lg transition-shadow duration-300">
              <CardBody className="p-4">
                <Link
                  className="text-xl font-semibold text-blue-600 hover:underline"
                  href={`/blog/${post.id}`}
                >
                  {post.title}
                </Link>
              </CardBody>
            </Card>
          </li>
        ))}
      </ul>
    </div>
  );
};
components/blog-post.tsx
"use client";

import { Card, CardBody, Divider } from "@heroui/react";
interface BlogPostDetailProps {
  post: {
    title: string;
    body: string;
  };
}

function BlogPostDetail({ post }: BlogPostDetailProps) {
  if (!post) {
    return <p>Loading post...</p>;
  }

  return (
    <div className="container mx-auto px-4 py-8 max-w-4xl">
      <Card className="shadow-lg">
        <CardBody className="p-6 md:p-8">
          <article>
            <h1 className="text-4xl md:text-5xl font-extrabold text-gray-900 leading-tight mb-4">
              {post.title}
            </h1>
            <Divider className="my-6" />
            <p className="text-lg text-gray-700 leading-relaxed space-y-4">
              {post.body}
            </p>
          </article>
        </CardBody>
      </Card>
    </div>
  );
}

export default BlogPostDetail;
app/blog/[slug]/page.tsx
import { getPost } from "../../../lib/posts";

import BlogPostDetail from "@/components/blog-post";

export default async function BlogPost({ params }: any): Promise<JSX.Element> {
  const post = await getPost(params.slug);

  return <BlogPostDetail post={post} />;
}
app/api/revalidate/route.ts
import { revalidateTag } from 'next/cache';

export async function POST() {
  await revalidateTag('posts');
  return new Response('Posts cache revalidated');
}
Run application
- Run
npm run dev - Visit
http://localhost:3000to see cached blog posts - Use
curl -X POST http://localhost:3000/api/revalidateto manually trigger revalidation

>curl -X POST http://localhost:3000/api/revalidate
Posts cache revalidated
Conclusion
Caching and revalidation in Next.js give you performance without sacrificing freshness. Use fetch for basic needs, unstable_cache for custom logic, and revalidateTag or revalidatePath for real-time updates.
With these tools, your app stays snappy and relevant. Start small, experiment with each method, and adjust your approach based on your content.
This article was originally published on Medium.